You probably clean your dashboard, vacuum your seats, and wipe down your center console. But when was the last time you cleaned the accessories installed around your vehicle seats?
If you regularly use a vehicle-mounted holster, dust, dirt, crumbs, moisture, and everyday debris can collect around the mounting area.
Learning how to clean a vehicle holster mount is an often-overlooked part of maintaining your vehicle carry setup.
A clean mounting system is easier to inspect for wear, loose components, and potential problems. It also helps prevent dirt from accumulating between the mount and your vehicle’s interior surfaces.
Whether you drive a pickup truck, SUV, or everyday commuter car, here’s how to approach cleaning your vehicle holster mount without damaging the equipment or surrounding interior.
Why Should You Clean a Vehicle Holster Mount?
Vehicle interiors collect more debris than you might realize.
Every time you get into your vehicle, you can bring in dirt, sand, moisture, pet hair, and other contaminants.
Some of that material eventually finds its way into the narrow spaces beside your seats.
Unfortunately, those are also the spaces where many vehicle accessories are installed.
Over time, debris may collect around:
- Mounting rails
- Seat gaps
- Attachment straps
- Support brackets
- Seat tracks
- Center-console edges
- Holster attachment points
Learning how to clean a vehicle holster mount helps you keep these areas accessible for inspection and routine maintenance.
What You’ll Need to Clean Your Vehicle Holster Mount
Before starting, gather a few basic cleaning supplies.
For general surface cleaning, you may need:
- A clean microfiber cloth
- A soft detailing brush
- A vacuum with a narrow attachment
- A second dry microfiber cloth
- A manufacturer-approved cleaning solution, if needed
Avoid using aggressive chemicals, abrasive pads, or excessive moisture unless the manufacturer specifically approves them.
Different mounting systems use different materials, so cleaning methods aren’t necessarily universal.
Step 1: Make Sure the Firearm Is Safely Secured Elsewhere
Before cleaning the mounting system, remove the firearm from the work area using safe handling procedures.
Do not attempt to clean around a loaded firearm or leave a firearm loose on the seat while detailing your vehicle.
Store the firearm securely and prevent unauthorized access throughout the cleaning process.
If you’re unsure how to safely remove or handle your equipment, follow the firearm and holster manufacturers’ instructions or seek guidance from a qualified firearms instructor.
The purpose of this process is to clean the mounting equipment, not to perform firearm maintenance.
Step 2: Inspect the Mount Before Cleaning
Before wiping anything down, take a moment to inspect the installation.
Look for visible debris, damaged components, loose straps, and anything that appears out of place.
Pay particular attention to areas where the mount contacts the vehicle seat or center console.
If the mounting system has shifted, determine why before continuing to use it.
Highway Holster’s Multi-Mount uses existing seat components and the space beside the seat rather than requiring permanent modifications.
You can review the system here:
Step 3: Remove Loose Dirt and Debris
The next step in how to clean a vehicle holster mount is removing loose debris.
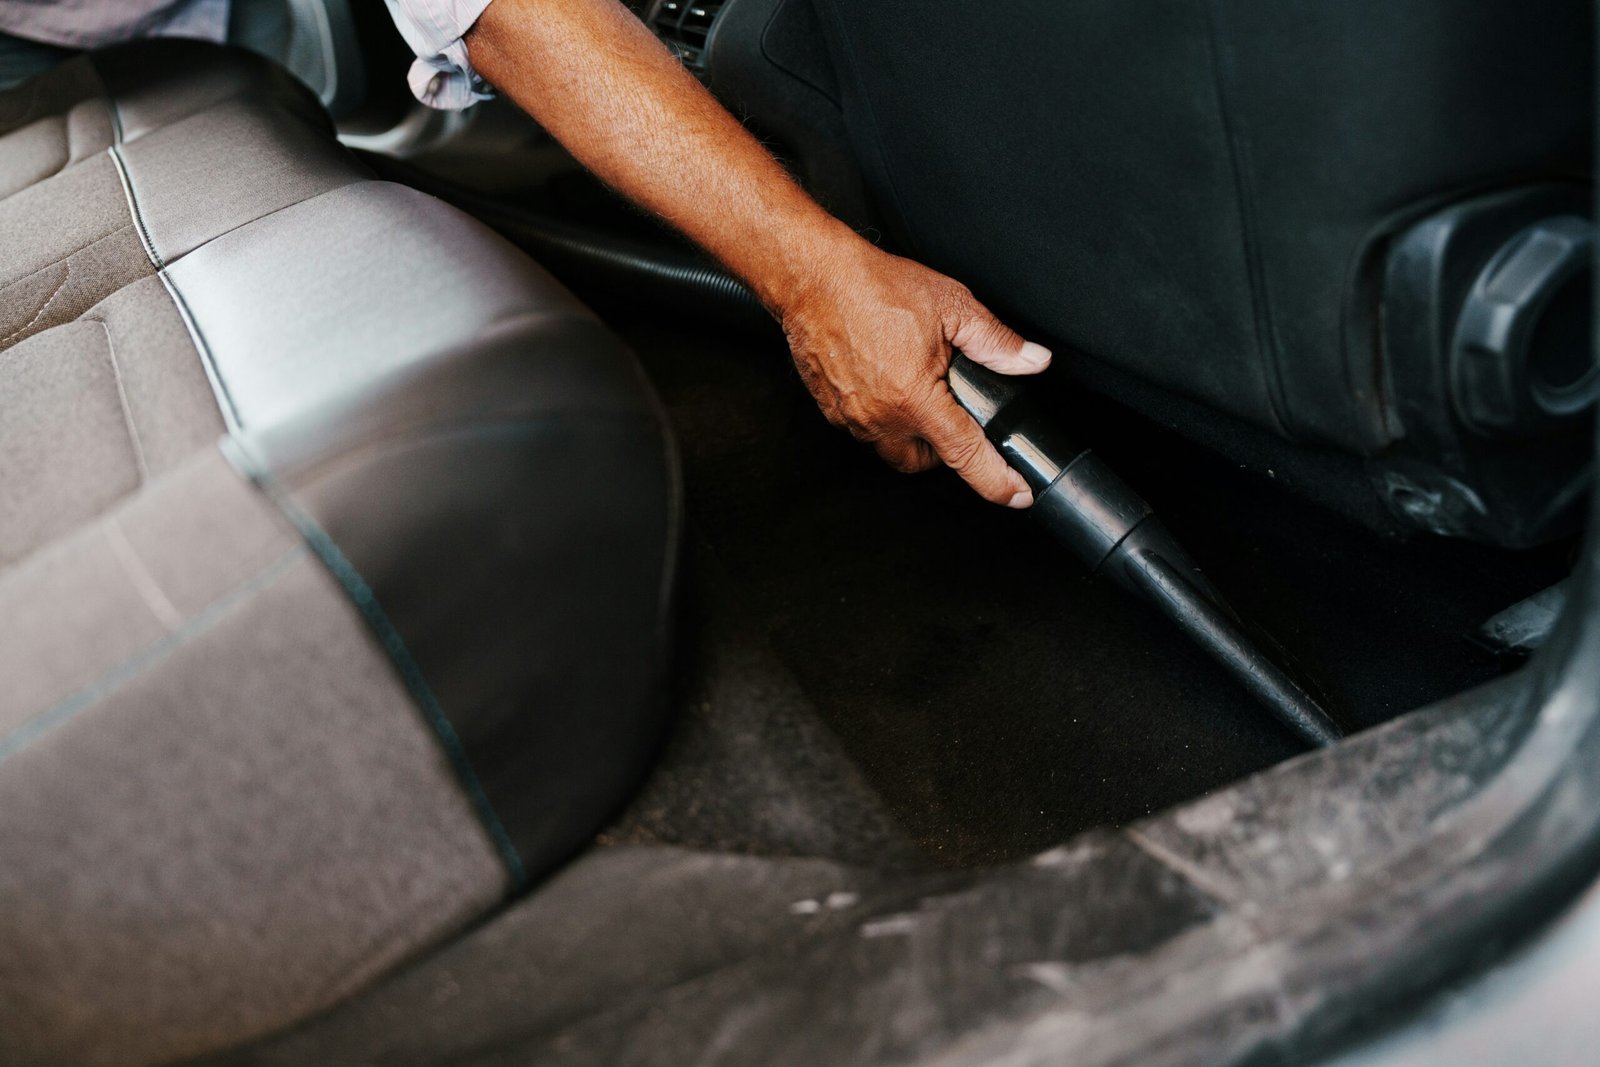
Use a soft brush or vacuum attachment to carefully clean accessible surfaces around the mount.
Pay attention to the narrow gap between the seat and console, where dirt and small particles often accumulate.
Avoid forcing vacuum attachments or detailing tools into areas containing seat wiring, electrical connectors, or other factory equipment.
If you cannot reach a particular area safely, leave it alone rather than risking damage to the vehicle.
Step 4: Wipe Down Accessible Mounting Surfaces
Once loose debris has been removed, wipe accessible mounting surfaces using a clean microfiber cloth.
For the Highway Holster Multi-Mount, the manufacturer identifies molded engineered ABS plastic, neoprene grip foam, and nylon Velcro straps among its materials.
Because these materials differ, don’t assume a cleaning product suitable for one component is appropriate for all of them.
For routine cleaning, begin with a dry cloth.
If additional cleaning is necessary, use only products and methods approved by the equipment manufacturer.
Avoid saturating straps, foam, or attachment points.
Step 5: Inspect the Straps and Attachment Components
Cleaning provides an opportunity to examine the components responsible for keeping your mount in position.
The Highway Holster Multi-Mount includes a mounting rail, strap mount, support strut, elastic hook cords, and Velcro straps.
Inspect these components for:
- Fraying
- Cracks
- Loose attachments
- Excessive stretching
- Damaged hook-and-loop surfaces
- Debris caught in fastening materials
- Changes in fit or stability
If a component is damaged, contact the manufacturer about an appropriate replacement rather than improvising a repair.
You can review the Highway Holster Installation Guide for information about the system’s components and assembly.
Step 6: Check for Moisture Around the Seat
One reason how to clean a vehicle holster mount deserves its own maintenance routine is that vehicle seats and console gaps can trap moisture.
This is particularly relevant if you frequently drive in rain, snow, or humid conditions.
Check for damp carpeting, wet floor mats, or moisture near the mounting area.
If moisture is present, address the source and allow affected components to dry according to the manufacturer’s instructions.
Don’t reinstall equipment against wet surfaces if doing so could trap moisture or affect the mounting system.
For more on environmental exposure, read:
Can Heat Damage a Gun in a Car?
Step 7: Recheck the Installation
After cleaning, inspect the mount’s position and attachment points.
If you removed the mount, reinstall it according to the manufacturer’s instructions.
Make sure it does not interfere with:
- Seat belt operation
- Seat movement
- Seat tracks
- Vehicle wiring
- Pedals
- Other vehicle controls
The Highway Holster Multi-Mount is designed to move with the vehicle seat, but substantial seat adjustments may require checking or readjusting the installation.
For more information, read:
Can Your Gun Holster Move When You Adjust Your Car Seat?
Can You Remove Highway Holster to Clean It?
Yes.
One advantage of the Highway Holster Multi-Mount is that it doesn’t require drilling or permanent alterations to your vehicle.
The manufacturer also describes the system as removable in seconds.
That can make it more convenient to access the surrounding seat and console area when cleaning.
However, removal and reinstallation should always follow the manufacturer’s instructions.
A removable mounting system still needs to be installed correctly before use.
How Often Should You Clean a Vehicle Holster Mount?
There isn’t one cleaning schedule that works for everyone.
A vehicle driven primarily on paved roads may collect less debris than a truck regularly used on construction sites or dirt roads.
Consider how often you encounter:
- Dusty roads
- Mud
- Sand
- Pet hair
- Food debris
- Snow and road salt
- Excessive moisture
For many drivers, inspecting the mounting area during normal vehicle cleaning is a reasonable starting point.
Clean it whenever visible debris or contamination accumulates.
For additional guidance, read:
Vehicle Carry Setup Maintenance: How Often Should You Check Your Setup?
Can Dirt Affect a Vehicle Holster Mount?
Dirt doesn’t automatically mean a mounting system will fail.
However, accumulated debris can make it harder to inspect components and may interfere with certain attachment surfaces.
For example, hook-and-loop fasteners can collect lint and other material that reduces their ability to engage properly.
Grit trapped between an accessory and interior trim may also contribute to surface wear.
This is why regular inspection matters just as much as cosmetic cleaning.
A clean mount should also remain properly secured and compatible with the vehicle.
What About Leather Seats?
If your vehicle has leather seats, take extra care around contact points.
Avoid abrasive cleaning tools or harsh chemicals that could damage the upholstery.
Use cleaning products approved by your vehicle manufacturer for the seat material.
Do not soak leather, foam, or mounting components.
Inspect areas where accessories contact the seat for signs of rubbing or trapped debris.
If you’re concerned about preserving your interior, our guide to vehicle holsters without drilling explains why a removable mounting system can be preferable to permanent modifications.
Should You Clean the Holster and Mount Separately?
Yes.
A vehicle holster mount and the holster attached to it may use different materials.
The mount may contain molded plastic, foam, straps, and attachment hardware, while the firearm holster may be made from leather, Kydex, nylon, or another material.
Follow the cleaning and maintenance instructions for each product.
Don’t assume the same cleaning solution is appropriate for both.
After cleaning, verify that the holster maintains proper fit, retention, and trigger protection.
What If You Notice a Loose or Damaged Mount?
If cleaning reveals a problem, don’t ignore it.
A damaged strap, cracked mounting component, or unstable attachment should be addressed before the system is used again.
Do not rely on improvised adhesives, fasteners, or modifications that haven’t been approved by the manufacturer.
Highway Holster provides installation instructions and product information to help owners understand the intended mounting configuration.
Review the assembly and installation PDF before making adjustments.
Why Regular Maintenance Matters for Vehicle Carry
Your vehicle holster mount is only one component of a larger carry setup.
Proper maintenance also involves checking the holster, attachment hardware, vehicle interior, and surrounding safety equipment.
A well-maintained setup should not interfere with normal driving or allow unauthorized access to a firearm.
If you regularly carry passengers, consider whether the mounting location remains appropriate for everyone inside the vehicle.
Read:
Gun in Car With Passengers: What Should You Consider?
And:
How to Secure a Firearm in a Vehicle Safely and Legally
Frequently Asked Questions
How to clean a vehicle holster mount without damaging it?
When learning how to clean a vehicle holster mount, start by safely removing the firearm from the work area. Remove loose debris using a soft brush or vacuum, wipe accessible surfaces with a microfiber cloth, and follow the manufacturer’s cleaning instructions. Inspect all mounting components before using the system again.
Can I use household cleaners on Highway Holster?
Highway Holster’s Multi-Mount contains ABS plastic, neoprene foam, nylon straps, and other components. The product page does not provide a universal list of approved cleaning chemicals. Contact the manufacturer before using unfamiliar cleaning products.
Can I remove Highway Holster when detailing my car?
Yes. The Multi-Mount is removable and doesn’t require permanent vehicle modifications. Follow the installation instructions when removing and reinstalling it.
How often should I inspect my vehicle holster mount?
Inspect it periodically and whenever you notice looseness, unusual movement, visible damage, or accumulated debris. Driving conditions and frequency of use may affect how often cleaning is necessary.
Can dust or pet hair affect mounting straps?
Debris can collect in hook-and-loop fasteners and around attachment components. Keep these areas clean and inspect them for proper engagement.
Should I clean my holster separately from the mount?
Yes. Holsters and mounting systems may use different materials and require different cleaning methods. Follow each manufacturer’s instructions.
What if my mount feels loose after cleaning?
Do not use an unstable mount. Check the installation against the manufacturer’s instructions and address any damaged or improperly secured components before using it again.
Final Thoughts
Knowing how to clean a vehicle holster mount is a simple but useful part of maintaining your vehicle carry setup.
Over time, dirt, dust, moisture, pet hair, and everyday debris can accumulate around the seat and console area.
Regular cleaning makes it easier to inspect mounting components, identify damage, and keep the surrounding vehicle interior in good condition.
For Highway Holster owners, pay particular attention to the mounting rail, support strut, Velcro straps, elastic hook cords, and areas where the system contacts the seat.
The Multi-Mount’s removable, no-drill design also makes it possible to access the surrounding area without undoing permanent modifications.
A clean mount isn’t automatically a secure mount, so always inspect the installation and follow the manufacturer’s instructions before using it.
Explore the Highway Holster Multi-Mount.